Now that we’ve installed Wings, all we have left to do is configuring a node - this will let us create servers from our panelDocumentation Index
Fetch the complete documentation index at: https://docs.worldspace.cloud/llms.txt
Use this file to discover all available pages before exploring further.
Configuring the Node
Log in to your newly-installed Pterodactyl Panel using the credentials you provided for the administrative user. Go to your admin view and select “Nodes” from the sidebar and click the blue “Create New” button \
\
 :::info
SSL Certificates
This tutorial assumes your panel is using SSL.
:::info
SSL Certificates
This tutorial assumes your panel is using SSL.If your panel is using SSL, so will your node. Before continuing, run the following command:
 :::
After you’ve created your node, go to the Configuration tab.\
:::
After you’ve created your node, go to the Configuration tab.\
 You can configure the node one of two ways
Configuration File
Copy the YAML code block and open a file called/etc/pterodactyl/config.yml as root. Paste and save the contents
Restart Wings to have the changes take effect
Auto-Deploy
Click the “Generate Token” button and copy the shell command provided into the terminal. Restart Wings to have the changes take effect
Allocations
An allocation is an IP address and port you can assign to a server - every server must have at least one of them. Typically, the IP of each allocation would be the IP of your network interface - if you’re behind NAT, it will be your local IP. To create an allocation, go to Nodes > Your Node > Allocation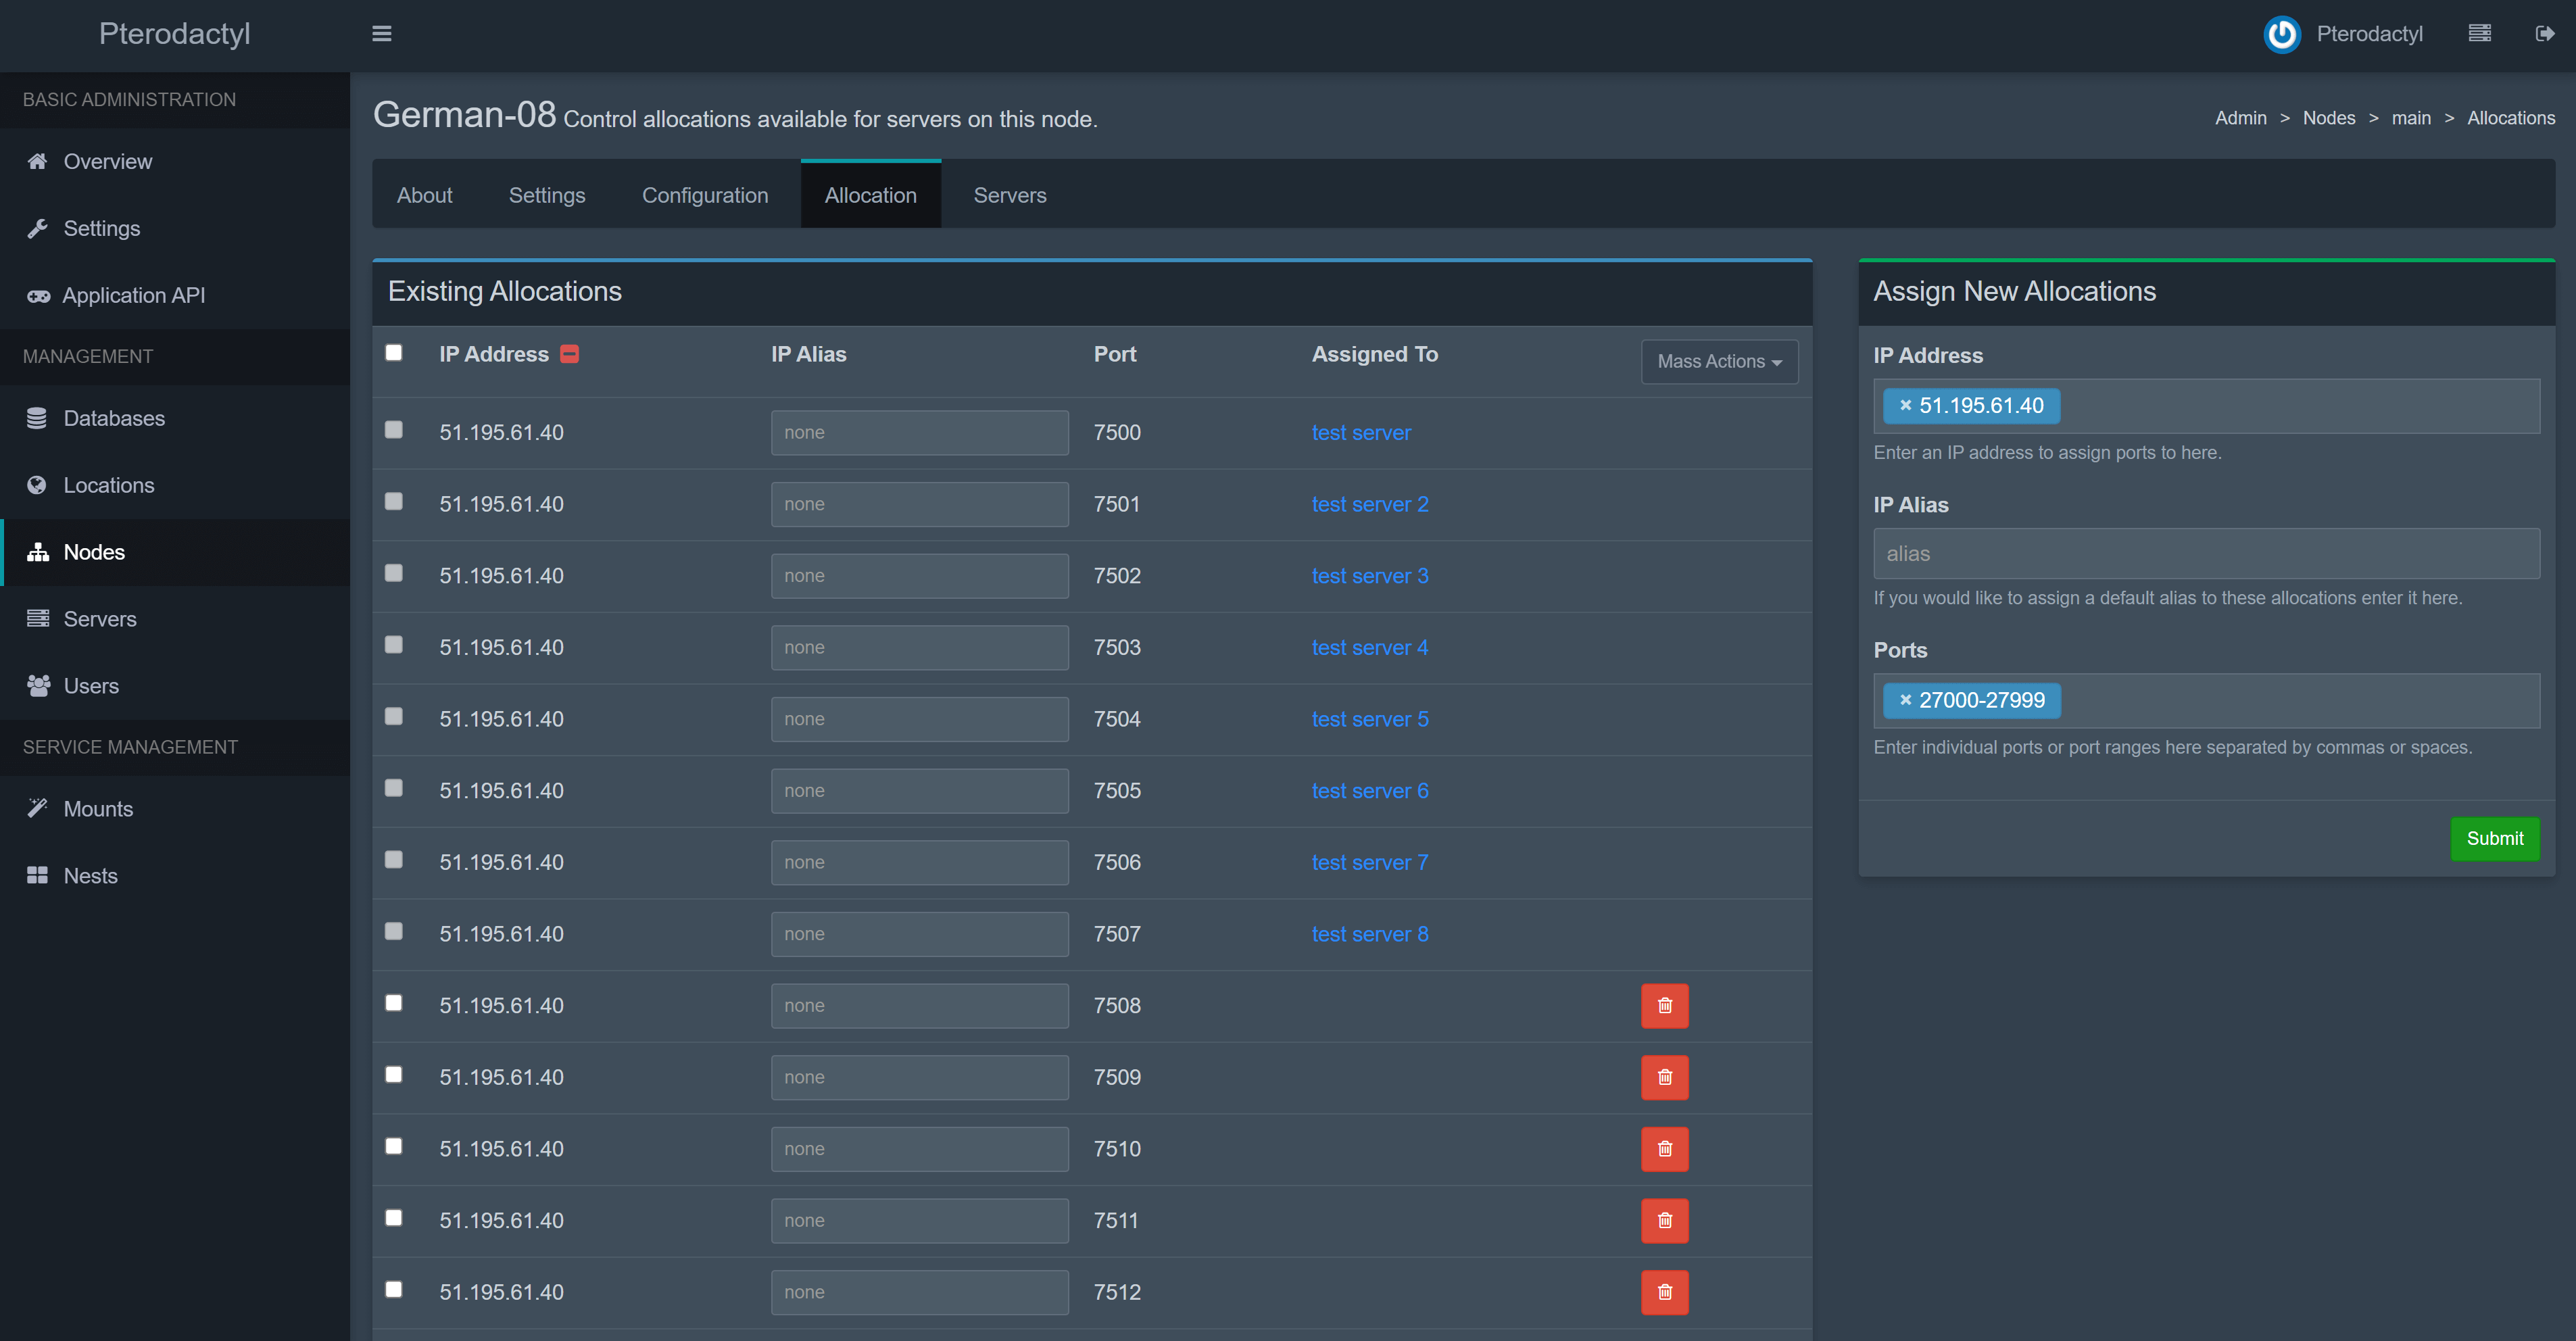 :::tip
IP Allocation
To find the IP to be used for allocations, do
:::tip
IP Allocation
To find the IP to be used for allocations, do hostname -I | awk '{print $1}'. Alternatively, to see all your available IPs and interfaces, type ip a | grep inet.Do not use 127.0.0.1 for allocations ::: Congratulations! You have completely configured Pterodactyl and are ready to deploy servers! Feel free to consult the next guide, which covers additional, optional configurations